How to Use Anu Fonts in Photoshop: The Ultimate DTP Guide
For decades, Anu Fonts have been the gold standard for Telugu Desktop Publishing (DTP). Whether you are designing wedding invitations, movie posters, or newspaper layouts, the beautiful curves of Anufonts (like Anu6 and Anu7) are indispensable. However, many new designers struggle with implementing Anufont and usage in Photoshop properly.
If you've ever pasted Telugu text into Photoshop only to see garbled English letters or mysterious box symbols, you are not alone. This comprehensive guide will walk you through the correct workflow to use Anu fonts seamlessly in Adobe Photoshop.
Understanding the Architecture of Anu Fonts
Before diving into Photoshop, it is critical to understand that Anu Fonts are legacy fonts (non-Unicode). Unlike modern Unicode fonts (such as Noto Serif Telugu) that assign a universal code to every Telugu character, Anu fonts map Telugu letter shapes directly over standard English keyboard keys.
This means when you press the "k" key, Anu font displays the Telugu letter "క". Because of this architectural difference, you cannot simply copy Telugu text from a modern website (which uses Unicode) and paste it into a text box using an Anu font. The encodings clash, resulting in unreadable text.
Step 1: The Translation Phase (Unicode to Non-Unicode)
To use Telugu text you found online or typed on your phone in Photoshop with an Anu font, you must first convert it. This is the most crucial step for Anu font usage in Photoshop.
- Find a Converter: Use a reliable Unicode to Anu Converter.
- Paste Your Text: Copy your Unicode Telugu text and paste it into the converter tool.
- Select Anu Version: Choose either Anu7 or Anu6. (Anu7 is the modern standard for Photoshop CC, providing better support for complex conjuncts like 'క్ష' and 'జ్ఞ').
- Convert and Copy: Click convert. The resulting text will look like random English characters—this is correct! Copy this output.
Step 2: Configuring Adobe Photoshop for Anu Fonts
Now that you have your converted (legacy) text, it is time to set up Photoshop correctly.
1. Check Your Middle Eastern Text Engine
Adobe Photoshop has different text engines. For legacy fonts like Anu, you actually want to ensure the standard text layout is used, avoiding some automatic ligatures that might interfere with Anu's custom mapping:
- Go to Edit > Preferences > Type (Windows) or Photoshop > Preferences > Type (Mac).
- Under "Choose Text Engine Options", select Latin and East Asian Layout (or just default Latin in newer versions).
- Click OK and restart Photoshop if you made a change.
Step 3: Pasting and Formatting the Text
With Photoshop configured and your text successfully converted to non-Unicode format, you are ready to design:
- Select the Horizontal Type Tool (T).
- Click on your canvas to create a text layer.
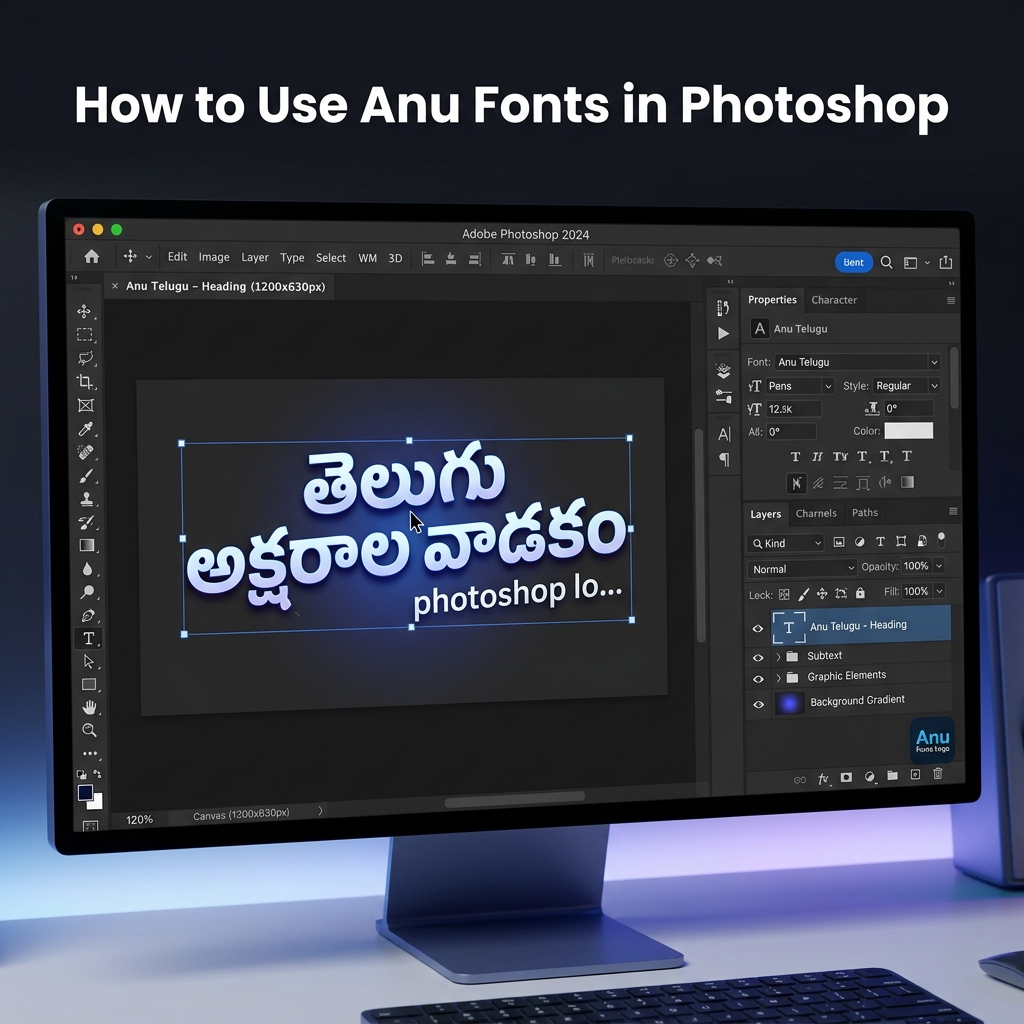
- Before pasting, go to your Character Panel (Window > Character) and select an Anu font (e.g., Anu7 Telugu Regular).
- Paste the text you copied from the converter.
Instantly, those random English characters will transform into perfect, professional-grade Telugu typography!
Common Troubleshooting: Why is my Anu Font not working?
If you are still facing issues with Anufont usage in Photoshop, check these common culprits:
- Mixing Anu6 and Anu7: If the i-kara (గుడి) is rendering strangely, you likely converted the text for Anu6 but selected an Anu7 font in Photoshop (or vice versa). Always match your converter output to the font version installed.
- Missing Base Glyphs: Check if a specific conjunct character is rendering as a box. This means your specific Anu font file might be corrupted or missing that glyph. Try switching from Anu7 Telugu to Anu7 Telugu Bold to verify.
- Spacing Issues: Adjust the kerning (tracking) in the Character panel. Anu fonts often require a tracking value of +10 or +20 for maximum readability in large formats like banners.
Conclusion
Mastering Anufont and usage in Photoshop unlocks traditional, beautiful Telugu typography that modern Unicode fonts sometimes struggle to match in terms of stylistic variety and print heritage. By utilizing a solid Unicode to Non-Unicode conversion workflow, you can seamlessly integrate modern web text into your professional DTP layouts.
Need to convert your text right now?
Use the Free Telugu Converter →Tagged: Telugu DTP · Photoshop · Anufonts